 |
| Whole Lemon Muffins |
In the meantime, my citrus obsession continues. It's becoming a problem really. I have three words for you: Blood Orange Margaritas. Need I say more? A few friends and I devoured a pitcher of these Friday night and it is now my personal mission to find a copycat recipe to bring you lovely folks. Stay tuned.
Until that glorious day, I bring you Whole Lemon Muffins. That's a good substitute for margaritas, right? Actually, don't answer that. Moving on...
So, if you are all as lazy as myself, you're probably thinking: More zesting? More juicing? Katy, you are a citrus slave driver!
And to that I say: pish posh! These muffins require absolutely zero zesting and zero juicing. No joke. All you need is your handy dandy food processor. These puppies are the lazy man's lemon muffin. You're welcome.
 |
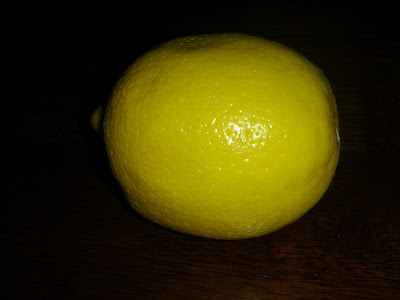
| One Lonely Lemon |
 |
| One Lemon + One Food Processor |
Whole Lemon Muffins
For the muffins:
1 medium lemon, preferably organic
1 cup walnuts or pecans
1 cup (2 sticks) unsalted butter, at room temperature
1 1/2 cups sugar
3 large eggs
2 tsp vanilla extract
2 3/4 cups all purpose flour
1 tsp baking soda
1 tbsp baking powder
1 tsp salt
1 2/3 cups (16 oz) plain whole-milk yogurt
For the glaze:
1 cup powdered sugar
Freshly squeezed juice of 2 small lemons
1/2 tsp vanilla extract
Directions:
Preheat the oven to 350 degrees F. Grease 8 Texas-size (3 1/2 inches in diameter and 2 inches deep) muffin cups with butter or cooking spray or line them with muffin wrappers.
Wash and dry the lemon, cut it into quarters, and remove the seeds. Process the quartered lemon (skin, pith, and all) in a food processor fitted with a metal blade for 1 minute or more, until it is completely ground up. Scrape the lemon into a medium bowl. Without washing the food processor, add the walnuts and pulse 10 to 12 times. (The nuts will clean the processor bowl.) Add the walnuts to the processed lemon and stir to combine. Set the lemon-nut mixture aside to be used later.
Using a mixer fitted with a paddle attachment, cream the butter in a large bowl on medium-high speed about 1 minute. Scrape down the sides of the bowl. Add the sugar and mix on medium-high until light and fluffy, about 2 minutes. Scrape down the bowl. Add the eggs all at once and beat on medium speed about 1 minute. Add the vanilla and beat on medium for about 30 seconds, until well incorporated. In a medium bowl, stir together the flour, baking soda, baking powder, and salt. Add one-third of the flour mixture to the batter and beat on medium-low speed just until it is incorporated. Add half of the yogurt and beat on medium speed until it is just incorporated. Continue to add the flour mixture and yogurt alternatively, beat just long enough to incorporate. (End with the dry ingredients.)
Gently stir in the lemon-nut mixture. Spoon the batter into the muffin pans, filling each cup just to the top. Bake for 30 to 35 minutes (or 18 to 25 minutes for standard-size muffin tins), until they are slightly browned and a toothpick inserted in to the middle of a muffin comes out clean. Let the muffins cool in their pans about 5 minutes. Remove the muffins from the pans.
To make the glaze:
Combine the sugar, lemon juice, and vanilla in a medium bowl. Drizzle the glaze over the warm muffins. The glaze will harden in about 15 minutes. These are at their very best served warm, but if wrapped tightly in plastic wrap once completely cool they will still taste great for about 3 days. They can be frozen up to 3 weeks.
Tip: Most standard muffin recipes will tell you to fill muffin cups two-thirds of the way to the top. This makes a neat, perfectly rounded muffin. I like to fill mine just to the top of the pan. As the muffins bake, they rise and spill over the edges of the muffin cups to create delectable crunchy edges. (Don’t worry; the batter will not spill over the muffin pans, creating a mess on the bottom of your oven. This method will not work with cupcake batter, which rises more and likely will end up dripping onto your oven floor.)
Source: The Pastry Queen, by Rebecca Rather (possibly the best cookbook I've ever purchased)
No comments:
Post a Comment